Transforming your floors doesn’t have to feel overwhelming, especially with this carpet tile installation guide. Moreover, carpet tiles are budget-friendly, simple to place, and great for homes and businesses. If you’re tired of old carpet or bare floors, carpet tiles can be a smart fix. With updated install tools 2026 and better adhesive options, a fresh look is easier than ever.
Even if you feel stuck at the start, you’re not alone. However, with a clear plan and a few smart habits, you can avoid uneven seams and early wear. Think of it like a puzzle: once the first tiles are right, the rest fits fast. In short, this guide helps you work with confidence and less stress.
Choosing the Right Carpet Tiles for Your Space
Choosing tiles is a key part of any carpet tile installation guide, and JG Carpet Contractors LLC sees this daily. First, think about how the room is used. Busy halls and offices need tougher fibers like nylon or polypropylene. Meanwhile, bedrooms and home offices may feel better with softer polyester. If you want to save money, loop pile tiles can still last for years.
Also, style matters. Solid colors feel clean and simple, while patterns help hide marks in busy areas. In addition, check tile height and thickness to prevent uneven seams. If you want a greener option, recycled tiles can reduce waste and add unique color mixes.
- Choose tough fibers for heavy traffic areas.
- Use softer fibers for comfort-focused rooms.
- Match tile thickness to avoid raised seams.
- Pick patterns if you want stains to show less.
Preparing Your Floor for Installation
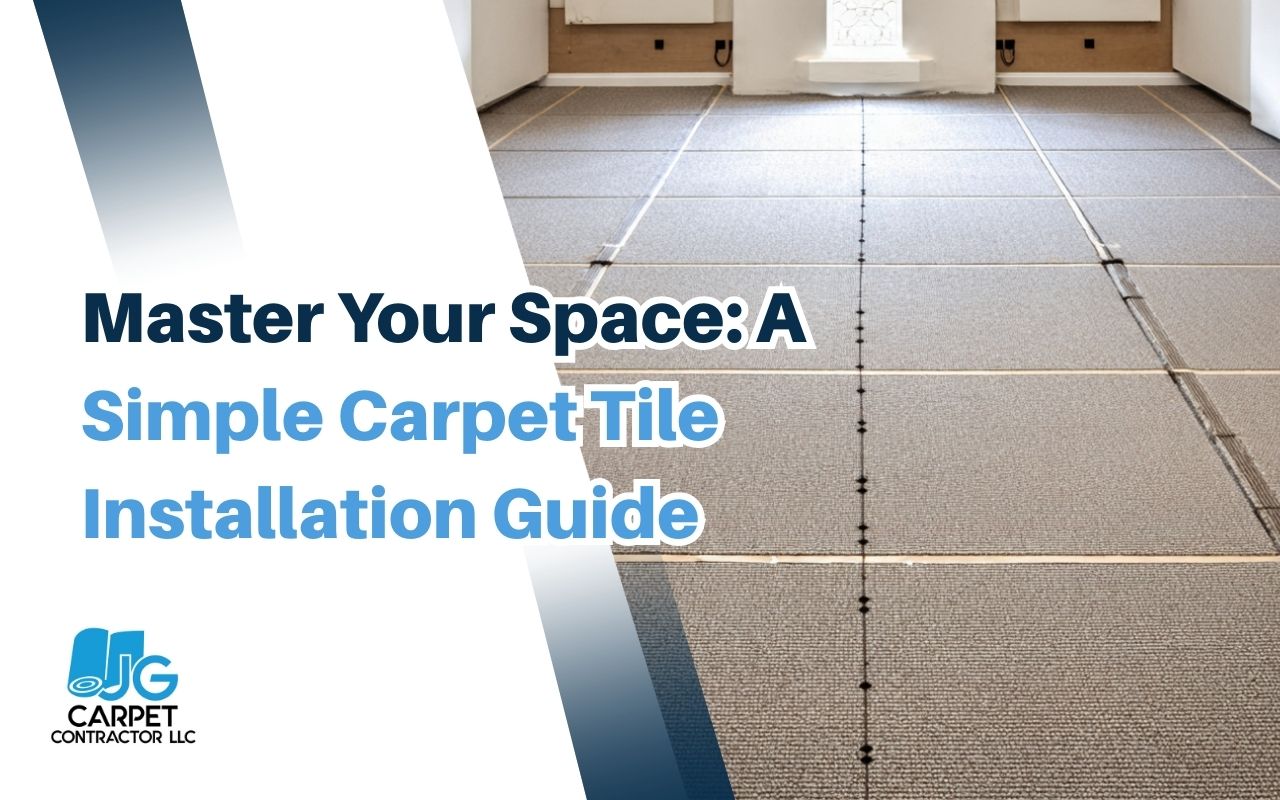
Before you begin the carpet tile installation guide steps, prep the surface well, and JG Carpet Contractors LLC recommends not rushing. Remove old carpet, strips, and loose debris. Then, sweep and vacuum so the subfloor is clean and solid. For wood, tighten loose boards and fix squeaks. For concrete, keep dust low because it can weaken the bond.
For commercial carpet prep, moisture checks matter even more. Excess moisture can lift tiles and weaken glue. So, fill cracks and low spots with a self-leveling mix, and let it dry fully. Finally, scan the floor with a long level to confirm it is flat and smooth.
- Remove old layers and loose debris.
- Clean dust fully with vacuuming.
- Patch cracks and flatten low spots.
- Check moisture levels in concrete areas.
Mistake to Avoid: Skipping the Prep Work
Skipping prep is one of the fastest ways to get uneven tiles and shorter life. Therefore, clean well, fix bumps, and repair cracks before you place a single tile.
Gathering the Necessary Tools and Materials
Having the right tools keeps the carpet tile installation guide simple, and JG Carpet Contractors LLC uses a reliable set on every job. For updated install tools 2026, bring a sharp utility knife, a sturdy straightedge, and a chalk line or laser level. Also, knee pads help you stay comfortable. A floor roller is key because it presses tiles down evenly and improves the bond.
Next, pick the right glue for your space. Peel-and-stick works well in quiet rooms. However, busy offices often need pressure-sensitive glue or full-spread glue. Follow the maker’s directions for spread rate and open time. Also, keep extra tiles for quick swaps later.
- Utility knife and spare blades.
- Straightedge and chalk line or laser level.
- Floor roller for firm bonding.
- Safety items like knee pads and a dust mask.

Understanding the Layout and Pattern Design
Plan the layout before you stick anything down, and JG Carpet Contractors LLC treats this step like a map. First, measure the room and mark the center with chalk lines. Then, start from the center and work outward for a balanced look. If you want a diagonal or herringbone style, test a small mock-up first. That way, you can see the pattern before you commit.
Also, notice how light hits the tiles. Some tiles show a grain that reflects light differently. So, you can keep the direction the same for a smooth look, or alternate on purpose for a light checker effect. Finally, sketch where wall cuts will land to avoid surprises.
Mistake to Avoid: Not Planning the Layout
Without a plan, tiles can drift and seams can show. Therefore, use chalk lines or a grid so rows stay straight from start to finish.
Avoid: Missing the Fiber Direction
Many tiles have a clear fiber direction. If you ignore it, the floor can look uneven. So, run your hand across tiles, then keep direction steady or alternate with intent.
Installing the First Carpet Tile Correctly
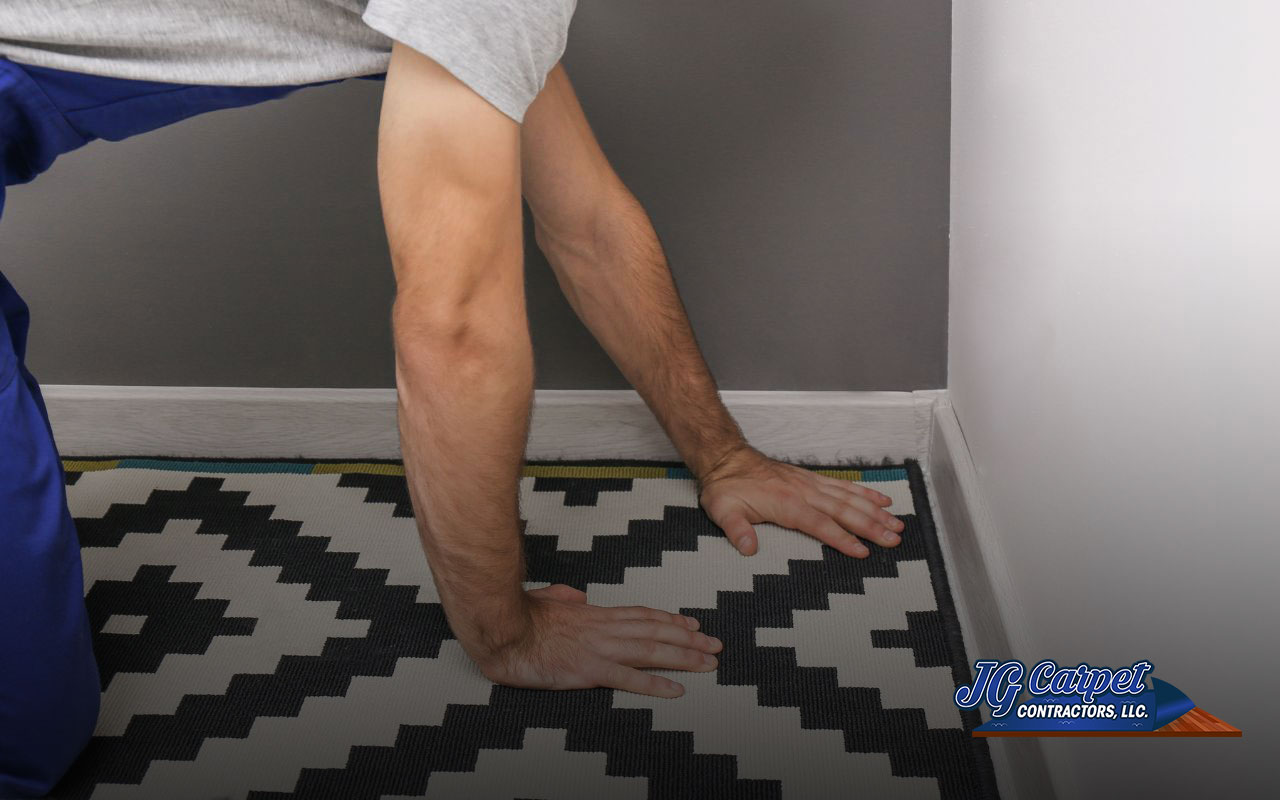
Start at the chalk line crossing point to keep balance, as JG Carpet Contractors LLC would on a clean install. Peel back only enough backing to anchor one corner. Then, align the tile to both lines and press down firmly. Next, check that the edges meet cleanly before you press the full tile into place. A good start makes the rest easier.
After that, press the edges with your hand or a tapping block to reduce gaps. Then, roll the tile for stronger contact. If it shifts, adjust gently while the glue is still tacky. Getting the first tile right helps every row look cleaner.
Continuing the Installation Process Smoothly
Continue row by row, moving outward from the center, and follow your pattern plan. In most cases, tiles should sit snug with no gaps. Still, check alignment often, and snap new chalk lines if needed. If tiles have a grain, rotate or flip them the way your sketch shows. That keeps the look consistent across the room.
Also, save full tiles for main sight lines. Then, use edge pieces near walls and corners. If a tile drifts, lift and reset it while the glue is workable. Finally, roll each new section to remove air pockets and help the surface sit flat.
Mistake to Avoid: Poor Tile Placement
Tiles should be snug, not forced. If they are too tight, edges can buckle. If they are too loose, seams can show. Also, avoid placing tile edges right over subfloor seams when possible.
Trimming and Fitting Carpet Tiles Around Obstacles
Obstacles are normal, so work slowly and measure twice. Mark cuts for door frames, vents, and built-ins. Then, cut with a sharp knife against a straightedge. For odd shapes, make a cardboard template first, and trace it onto the tile. JG Carpet Contractors LLC uses templates often because they reduce wasted tiles and save time.
Next, test-fit each cut piece before pressing it down. If you need a cleaner finish at doors, use the right transition strip made for tile carpet. Also, leave a tiny gap near fixed items so the tiles can settle without buckling over time.
Mistake to Avoid: Incorrect Cutting Techniques
Dull blades and rushed cuts can tear edges. Therefore, change blades often, cut against a straightedge, and take your time on tight corners.
Ensuring a Secure and Professional Finish
Once tiles are down, focus on the finish, because small details matter. Roll the whole floor with extra pressure along seams and edges. This helps adhesive options bond well and keeps corners from lifting. Also, check transition areas where tile carpet meets other flooring. A trim piece can protect edges and reduce wear.
Wipe glue marks while they are fresh using an approved cleaner. Then, inspect for any lifted edges and fix them right away. Finally, vacuum to remove loose fibers and dust. If you want a local crew to handle the details, explore JG Carpet Contractors LLC services in carpet installation in Essex, MD.
Proper Maintenance and Care Tips for Carpet Tiles
Good care keeps tile carpet looking sharp, and JG Carpet Contractors LLC encourages simple routines. Vacuum weekly in homes, and more often in busy workplaces. Use the right vacuum height so fibers stay neat. If spills happen, blot fast, then clean with mild soap and rinse well. Quick action helps prevent marks from setting in.
Also, schedule deeper cleaning now and then using low-moisture methods or a pro clean. Check for damaged tiles every few months, and swap single tiles as needed. Since tiles are modular, repairs are simpler than full carpet replacement. For business spaces, see options for commercial carpets.
Frequently Asked Questions
How long does a carpet tile installation guide project usually take?
It depends on room size and prep. However, many small rooms can be finished in a day with steady work.
Do I need glue for every carpet tile?
Not always. Peel-and-stick tiles have backing. Still, many rooms do better with pressure-sensitive glue for added hold.
What is the most important part of commercial carpet prep?
Moisture control and a flat surface. Therefore, test concrete and fix low spots before placing tiles.
Can I mix colors and still keep a clean look?
Yes. In fact, mixing shades can hide wear and add depth. Just keep a clear pattern so it looks planned.
When should I call JG Carpet Contractors LLC instead of DIY?
If the space is large, has moisture risks, or needs a strict timeline, a pro crew can reduce mistakes and rework.
Enjoying Your Transformed Space
With patience and a simple plan, the carpet tile installation guide approach can feel doable. Moreover, once the bond sets as the maker suggests, the room is ready for normal use. Whether you used updated install tools 2026 or compared adhesive options, your floor can look cleaner and last longer. If you want help planning your next step, reach out via the contact page.